What Is the Custom Template Feature?
By default, Logi Link Up generates CMR waybills using a standard blank form. The Custom Template feature lets you replace that standard blank with your own — whether it is your company's branded CMR, a form required by a specific customs authority, or a national variant such as a Dutch, German, French, or Polish bilingual form.
You upload the blank once and use a visual editor to define where each data field should appear by dragging placeholders onto the form. From that point on, every CMR generated with that template will have sender, consignee, cargo, and all other data placed exactly where you specified — with no manual repositioning.
Templates are saved to your account and available from a single dropdown at generation time. You can create as many as you need — one for each partner, trade lane, or CMR variant you use.
Where to Find the Template Editor
The template editor lives in the My Templates section of your account. Click your account menu in the top-right corner of the CMR Generator and select My Templates — right between the language selector and Preferences.
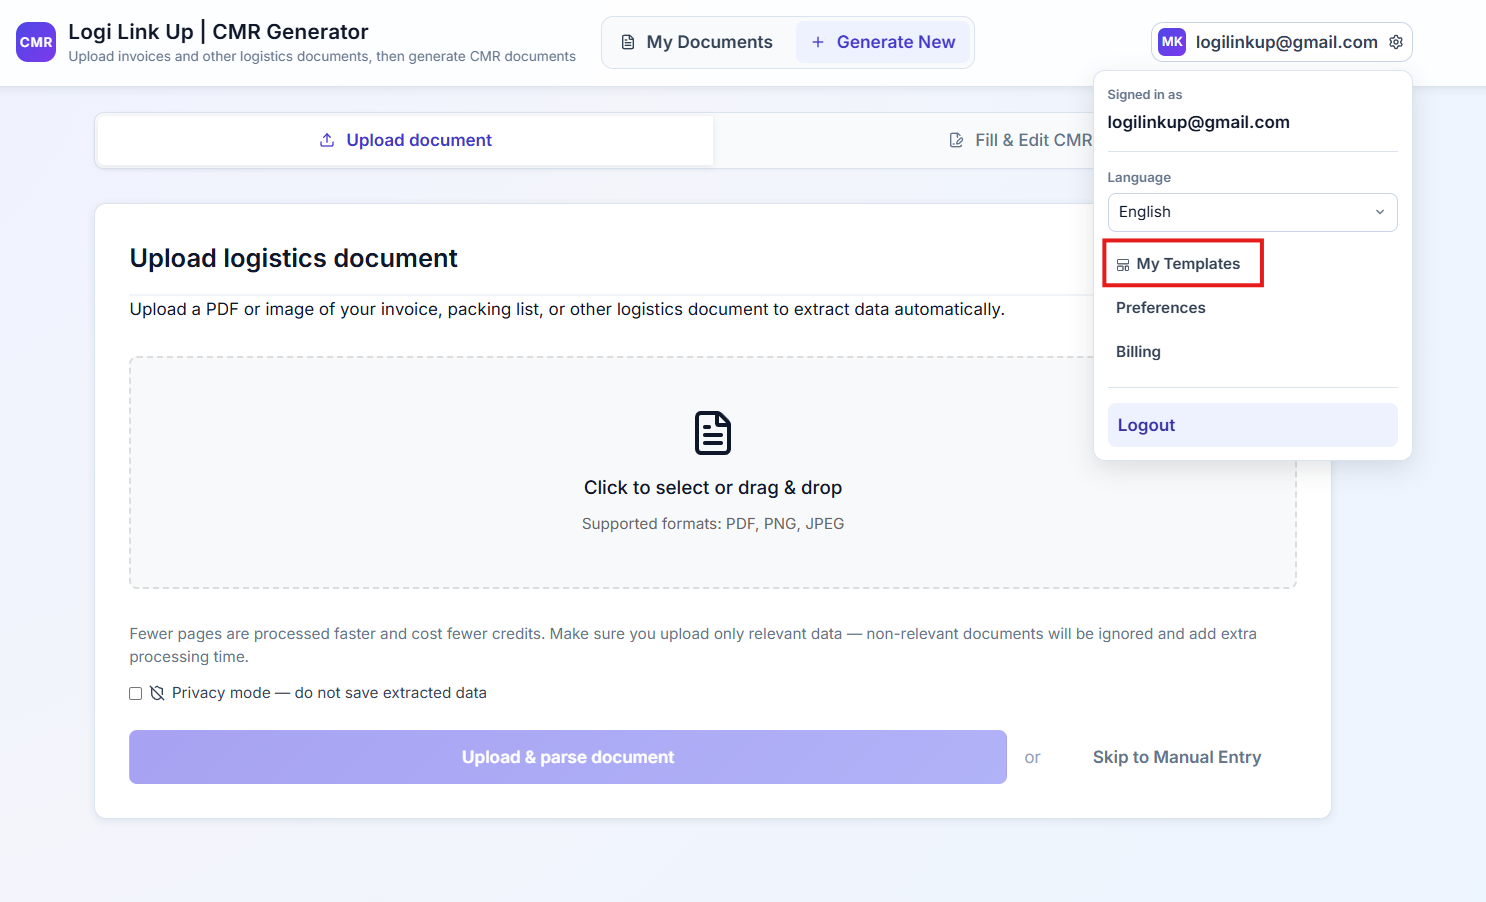
From My Templates you can upload a new blank CMR form, open any saved template for editing, or delete templates you no longer need.
The Template Editor: Placing Placeholders on Your Form
When you open the template editor, your blank CMR form is displayed on the right. On the left is a panel of placeholders — labelled chips representing every data field the system can fill in, organised into five groups: Sender, Recipient, Route, Cargo, and Other.
Placing a placeholder: click a chip in the left panel and drag it onto the corresponding field in your form. Once placed, the chip turns teal in the panel, indicating it is active. Unplaced chips remain grey. You can remove a placeholder from the form at any time by selecting it and pressing Delete.
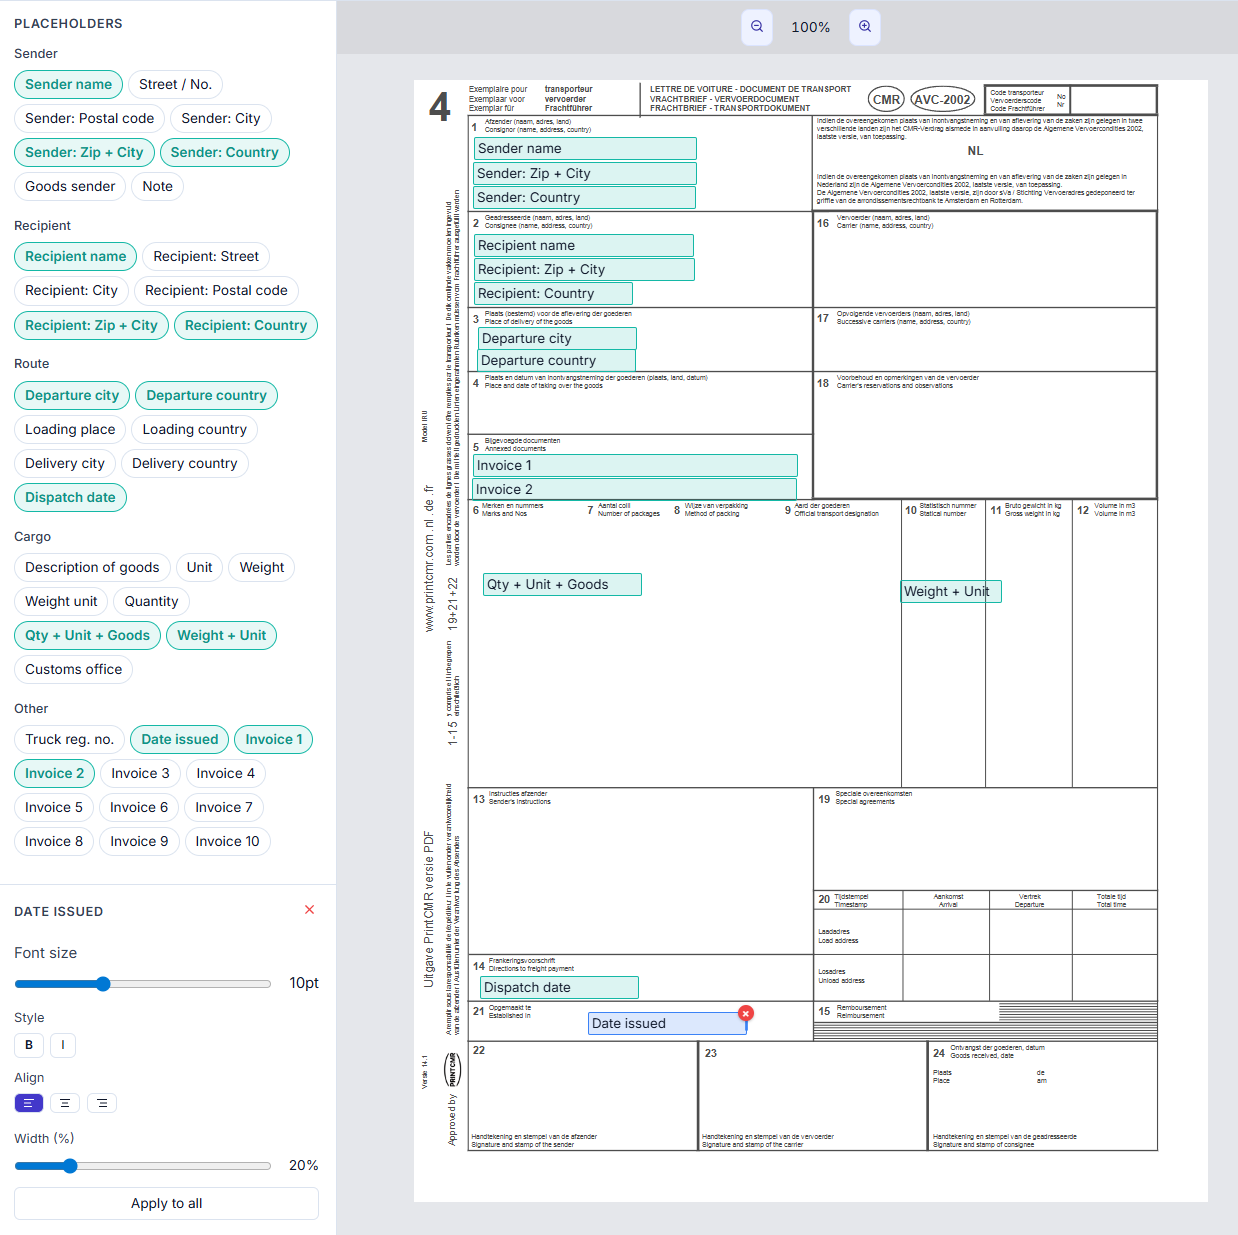
Styling a placeholder: click any placed placeholder on the form to select it. The settings panel at the bottom left exposes four controls:
- Font size — Adjust from the slider (default 10 pt). Reduce for long values such as addresses; increase for prominent fields like sender name.
- Style — Toggle Bold (B) or Italic (I) independently for each placeholder.
- Align — Set text alignment to left, centre, or right within the placeholder box.
- Width (%) — Controls how much horizontal space the placeholder occupies on the form. 100 % spans the full column width defined by your blank; reduce it for narrow fields.
The Apply to all button at the bottom of the settings panel applies the current font size, style, and alignment settings to every placeholder on the template simultaneously — useful for enforcing a consistent typographic look across the whole document.
Available Placeholders: Over 40 Data Fields to Map
The editor provides more than 40 distinct placeholders covering every data point extracted from your uploaded invoices and packing lists. Here is the complete reference organised by group:
Sender
Recipient
Route
Cargo
Other
Combination placeholders such as Zip + City, Qty + Unit + Goods, and Weight + Unit merge multiple values into a single field — ideal when your CMR blank combines those data points into one cell.
Generating a CMR with Your Custom Template
Once your template is saved, using it takes one extra step at generation time. On the CMR generation page, check Use custom template and select the saved template from the dropdown. The rest of the workflow is identical to standard CMR generation: enter or upload your cargo data, verify the extracted fields, and download.
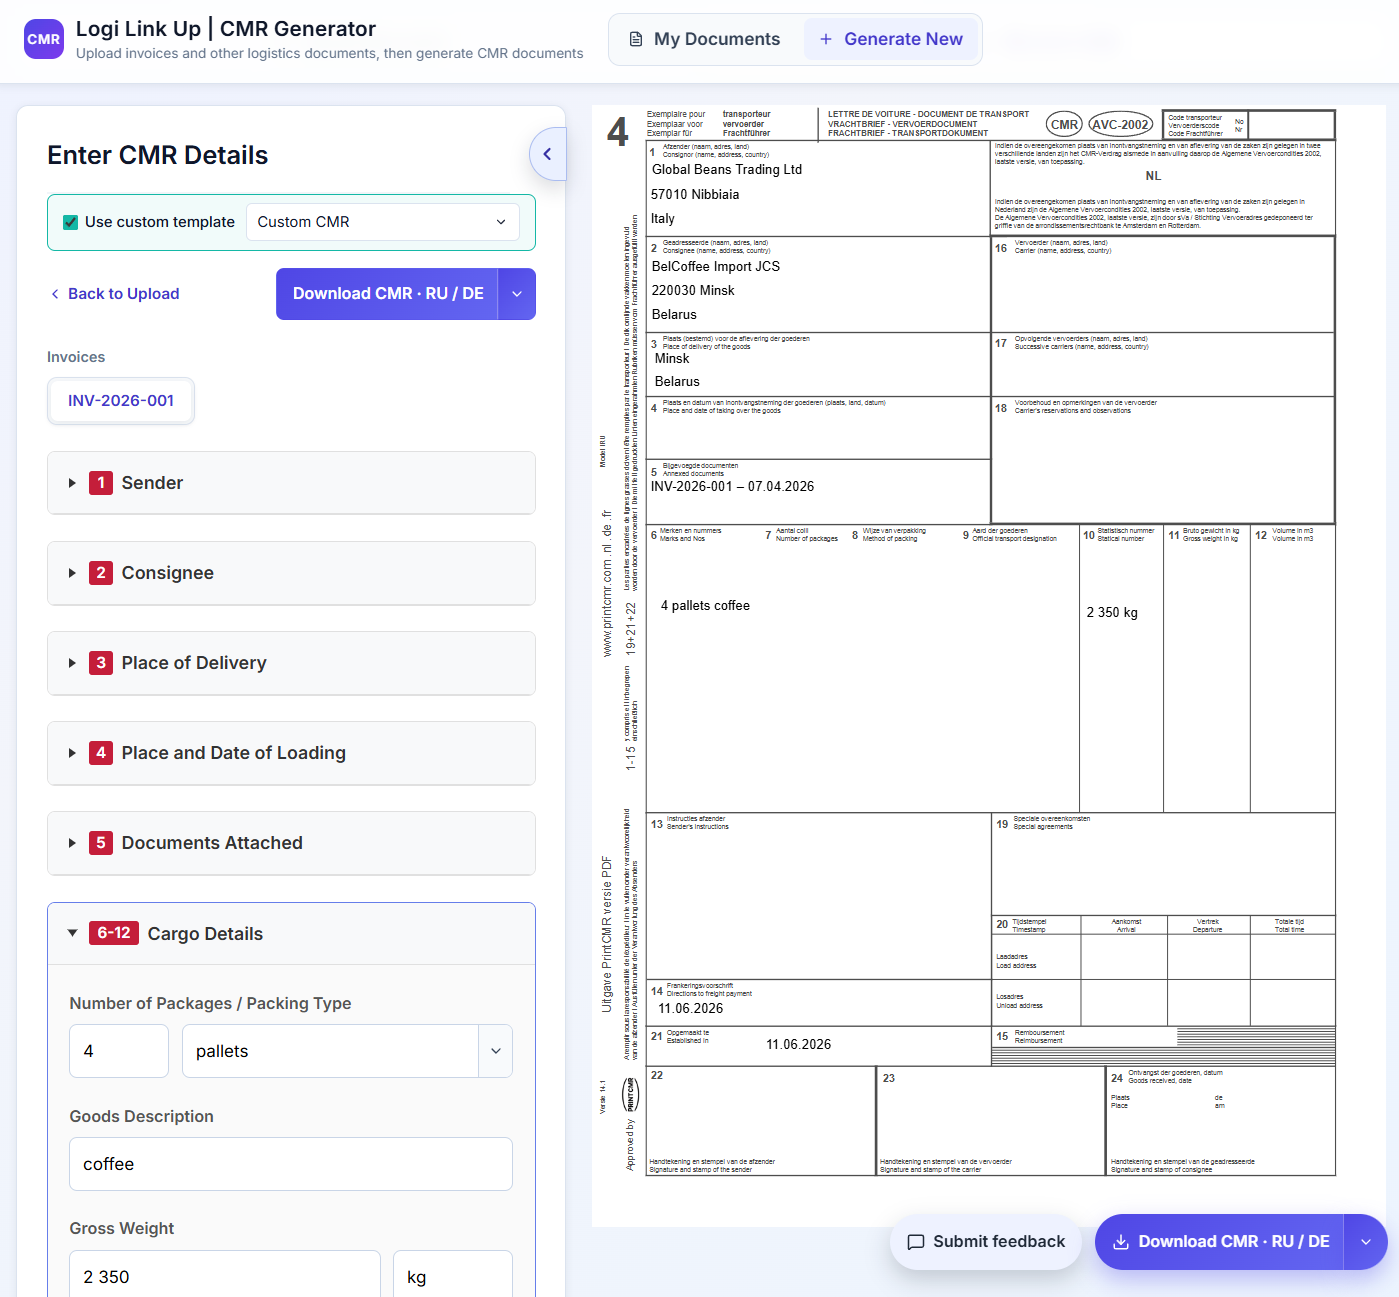
The live preview panel updates in real time as you fill in or edit fields. You can switch between your standard template and any saved custom template using the dropdown — the same extracted data will be reformatted for whichever template is active.
The Download button exports the filled document as a PDF. Language selection (e.g. RU / DE) works the same way as with the standard template — the output language applies to any system-generated text, while your custom blank's printed labels remain exactly as they appear on the original form you uploaded.
Why Use a Custom CMR Template?
Use your official company form
Many logistics companies operate with a branded CMR that carries their logo or pre-printed company details. Custom templates let you fill that form automatically instead of printing blanks and completing them by hand.
Partner and customs familiarity
If your regular partners or a specific border checkpoint are accustomed to a particular CMR layout, using your custom template avoids confusion and speeds up processing at the border.
National CMR variants
Over 55 countries have ratified the CMR Convention, and many have domestic or bilingual variants of the form. Upload the specific variant required for your trade lane and the system fills it correctly every time.
Multiple templates for different routes
Save separate templates for different corridors — for example a Dutch/German form for EU routes and a Russian/English form for CIS routes — and switch between them at generation time with a single click.
Consistent formatting across your team
Once a template is saved, everyone on your account generates documents with the same field positions, font, and style settings — eliminating inconsistencies between team members.
Frequently Asked Questions
Try custom templates — free to start
Upload your blank CMR form, position the fields once, and generate perfectly filled documents in under 60 seconds.
Open CMR Generator →